Our Computer Science Class Just went over a unit about Sketch up. In order to learn how to use it, we followed a series of tutorials done by the Harwood Podcast, which led though the process of creating a house in Sketch up. Below are the different stages of the described project.
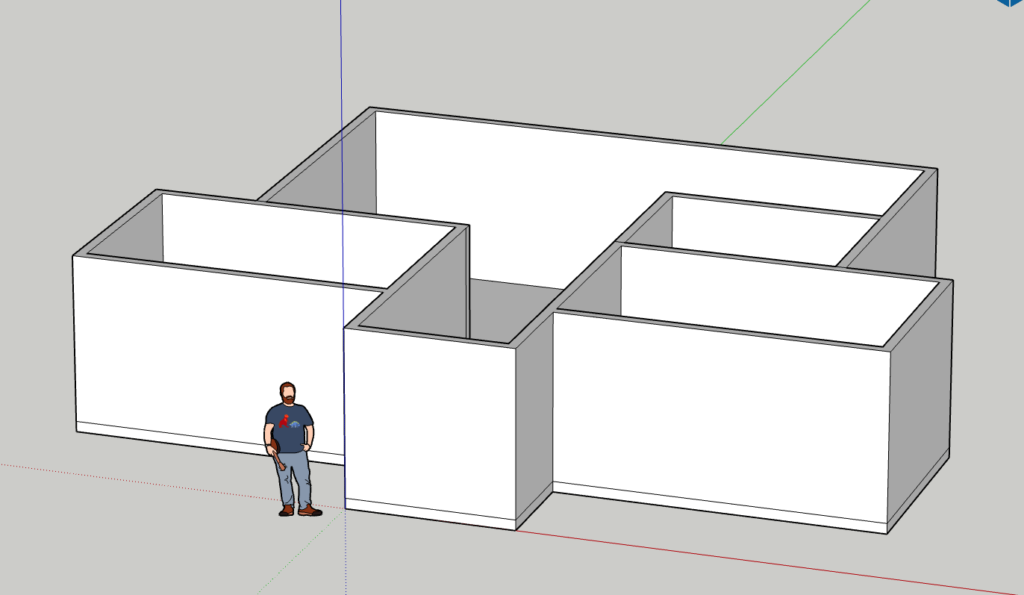
1. Walls
The first tutorial led us though creating the structure of the house. The screenshot portrays the first layout.
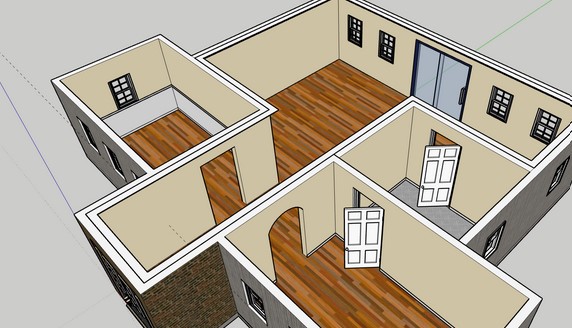
2. Doors and Windows
The next step was to carve out the space for the windows and the doors. I did not follow the placement exactly, but I did choose similar style and spacing.

3. Textures
This lesson provided instructions on breaking down objects into parts and applying textures on them. They can be exported, or brought from the given pallet.

4. Molding
Next, the tutorial goes over creating the molding inside the house. This includes base, chair, and crown molding, which is all made using the follow-me tool. The image below is not mine.
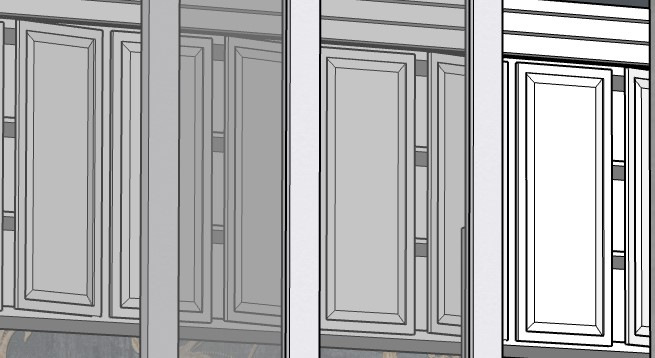
5. Kitchen Cabinets
The first step in creating the kitchen within the house was creating the cabinets. The designs are created using the offset and move tool. The image used is the close up of the cabinet design.

6. Overhead Cabinets
The final touch in the kitchen are the overhead cabinets. They are created through a technique similar to the lower cabinets. All other details in the kitchen can be exported from the 3D warehouse.
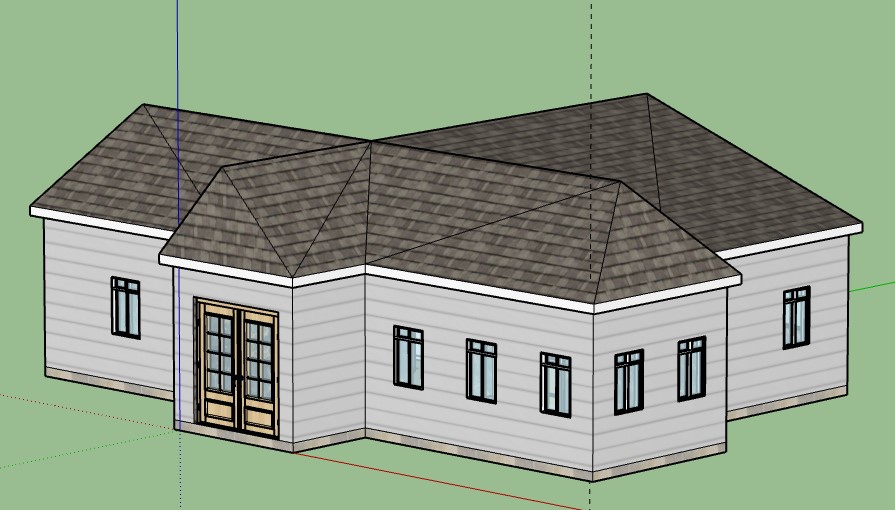
7. Roofing
The last step in the tutorial requires creating a roof for the house. Once again, it’s created using the move tool, the path of which is outlined by guidelines created with the line tool.