This project was inspired by the tetrahedral kite project we did in my Computer Science Discoveries course last year. In that project I used a temperature, altitude and pressure sensor and placed it on a kite so that it can be recorded during the flight. This was supposed to mimic the way satellites collect data for weather stations around the world.
To jump off of this idea I decided to further develop the project in the following areas:
- Remove the kite (to get more consistent data I will just place the sensor on the outside wall of my garage)
- Add a micro controller to calculate the current date, time and day of the week
- Add an LCD on which I will display this data (I’m using a 6×24 because I won’t need more space
- (TBD) create a way to isolate the wires and sensor so that it doesn’t get rained on
Clock
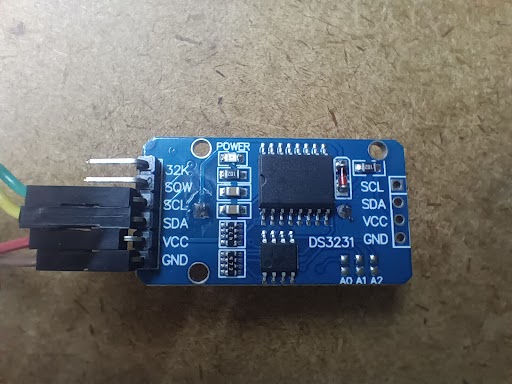
The clock I used was the Arduino DS3231 RTC (real time clock). took some time to set up, because even though it was already working in real time when it arrived, the time was wrong and needed to be adjusted. I used Although there were many options, I decided to use the day for the week, month, year, and day as well as the current time in hh:mm:ss format. There were no conflicts with the library for this element and after a little while I was able to figure it out.
Sensor
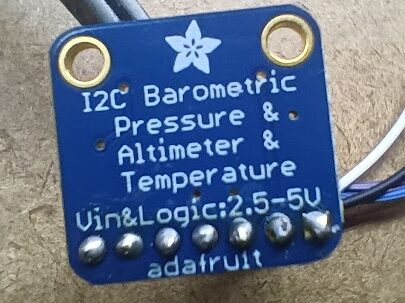
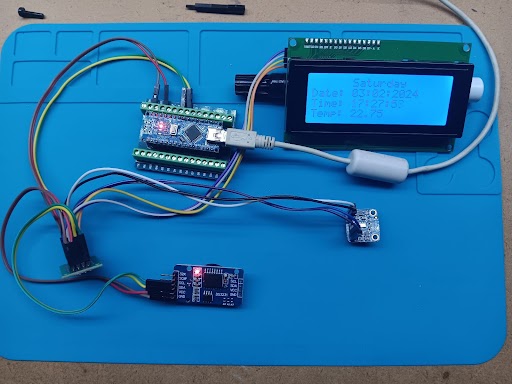
I used the Adafruit MPL3115A2 – I2C sensor. It’s a barometric sensor, meaning that it collects the atmospheric pressure, altitude, and temperature of its surroundings. While in this state of the project its attached to the Arduino nano with only short wires, in the finished product the sensor will be outside of my garage door, which will allow me to gather data which will be more accurate since my garage is usually warmer when its cold and colder when its hot outside. I’m also currently planning on how to protect the wires and the sensor in case of rain since I’m not planning to take it off once I place it on the wall.
Before making bugs in my original code with the clock output I decided to first test out the sensor in a separate file, and after dissecting the example code (in which the data was printed in the serial monitor of the Arduino IDE) all I had to do was incorporate it into the code for printing the information on the LCD display.
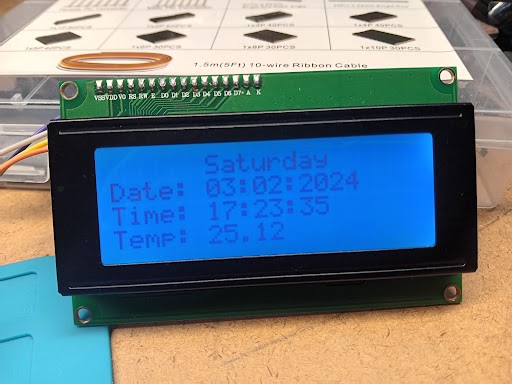
Display
I used a SunStar 2004a Arduino LCD display, which has 6 rows and 24 columns. While only in one color, it was perfect for this simple project. The biggest issue with this part of the project was getting the LCD display work while using the sensor library in the code. After multiple attempts to troubleshoot it, I decided to instead switch the libraries I was using. To my luck I found another library for the same sensor (it was the original Adafruit one that I was having troubles with) and was finally successful at combining the output of the barometric sensor and the clock module. This is what the output looks like in its final form: