
As my junior year is coming to a close, my AP Physics class introduced the Boat Day project. Using a set of material, students were required (within this optional assignment) to create a boat which would have to reach the end of the school pool with the student (or students since there was an option to complete the project with two people) inside the boat. If the boat made it there, it would have to turn around back to the start of the pool.
A fun aspect of this project I was really looking forward to since hearing about it was choosing a theme – I love the creative design aspects of projects that I create! Recalling my catapult project (add link) I had huge ambitions, and I’m glad I was able to use that potential to get the project that I wanted 🙂
Allowed Materials
- wooden rods
- roll of paper
- acrylic paint
- epoxy glue
- wood glue
Due to the project taking place in the school pool, there was a limited amount of materials allowed so that it would not be contaminated. The rods and paper were provided by my school, and the rest of the supplies I had to acquire on my own.
My Process:
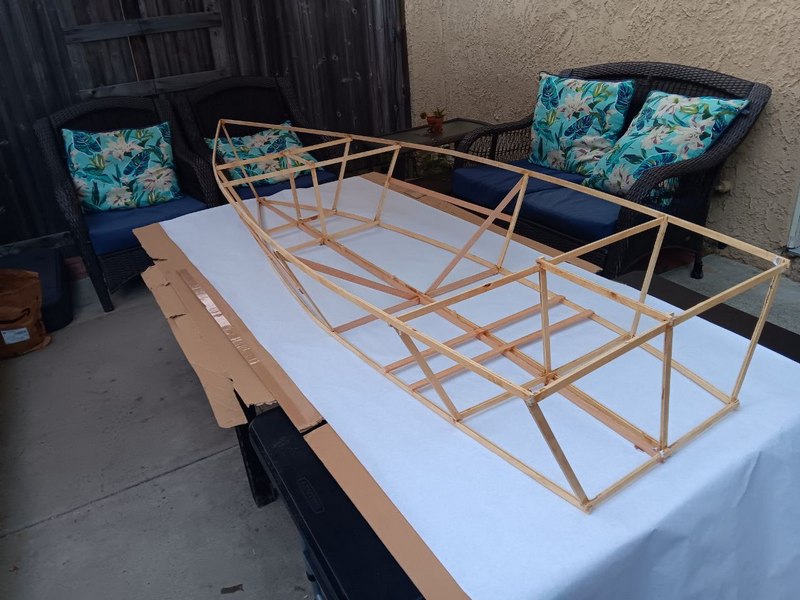
Step 3: Glue Together the Main Frame
The only requirement I had was the width of 93 cm, and I based my other measurements around it. At first I tried to make a detailed cut list, but then decided that the materials I was working with were too imperfect, which would render perfect measurements useless. Because of this I decided to measure and cut simultaneously based on my structure.
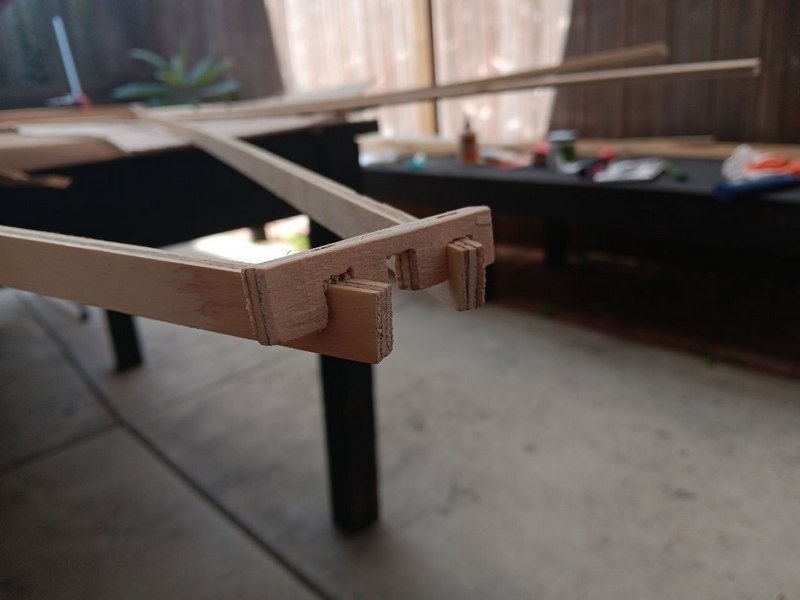
I had to be innovative with the gluing process and tried a few things out. I ended up using the epoxy for all the connections which turned out to be very convenient! I also designed a little piece for pulling the front three pieces of wood together which I was really proud of 🙂
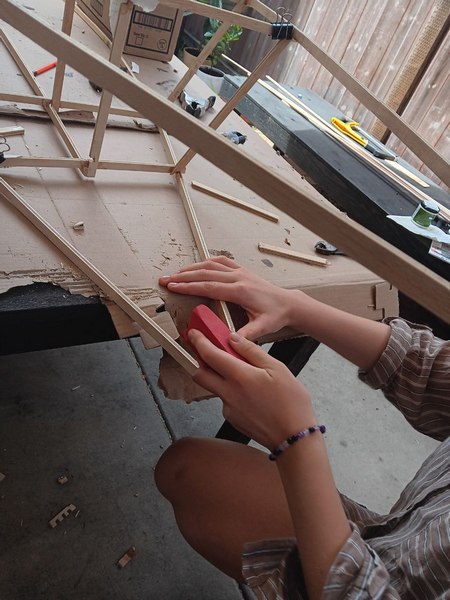
Step 4: Cover with paper
There were two ways to do this: cover as much of the boat in long pieces of paper or making small strips and placing them down with acrylic paint like paper mache. While the second option was still viable, I decided that using multiple pieces would make it more stable structurally. I was right, and some sections were tight like a drum which was really helpful when it came to a material as weak as paper.
I used wood glue for this process when I was both attaching the paper to the frame and paper to paper.
Step 5: Paint
I painted the base with an acrylic yellow color (choice explained below). There were some rips in the paper which I mended easily just by soaking more paper and covering the rips like paper mache. Initially I was scared that the paint wouldn’t hold up and stain the pool water when I submerge my boat, but after testing it I regained my confidence because the water rolled off of it just fine. This was such a relaxing process – I loved listening to music and relaxing my mind while paying careful attention to my design and painting process.
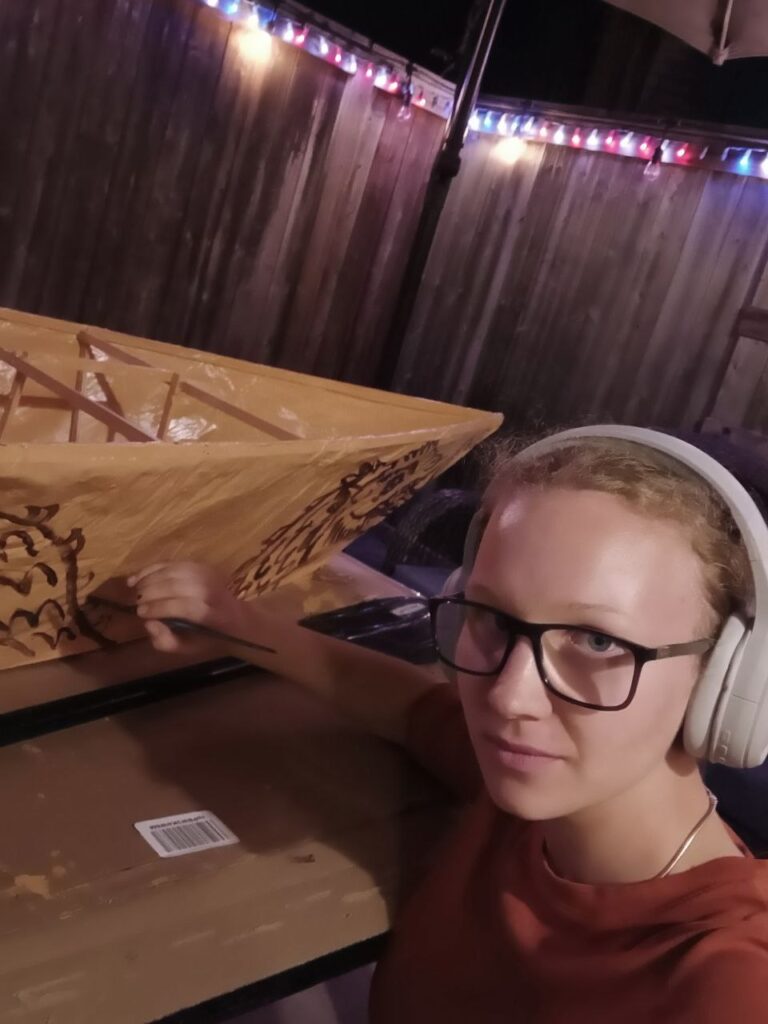
Step 6: Create + Apply Design
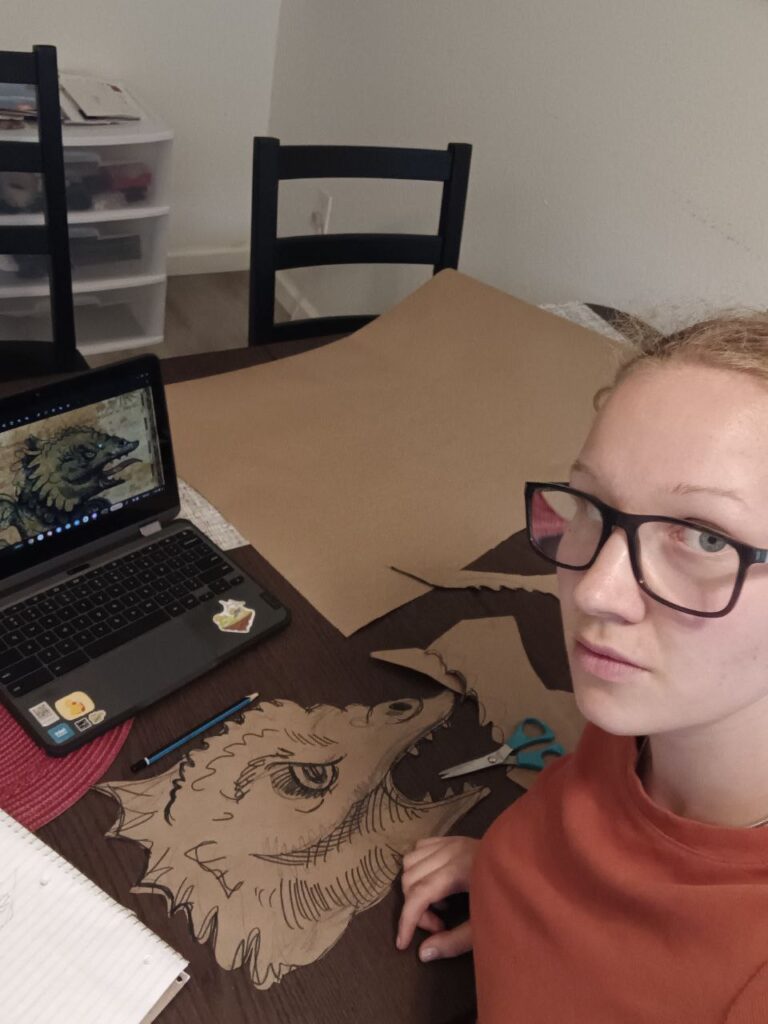
The theme that I picked for this project was the Leviathan. This was a boat and I wanted something nautical, while also satisfying my need to draw something whimsically intricate, just like the horse on the catapult project. After looking through lots of reference images, I got my design.
The goal of my boat was to stylize it to the look of medieval drawings of the leviathan on parchment, in order to stick to the original look and interpretation of the beast. This would also make it easier to work with, since many of the old medieval paintings featured line art with very little color variation. Since my budget was tight, I needed a design that would use a minimal variety of paint colors for maximum effect. I’m very glad to say that I succeeded.
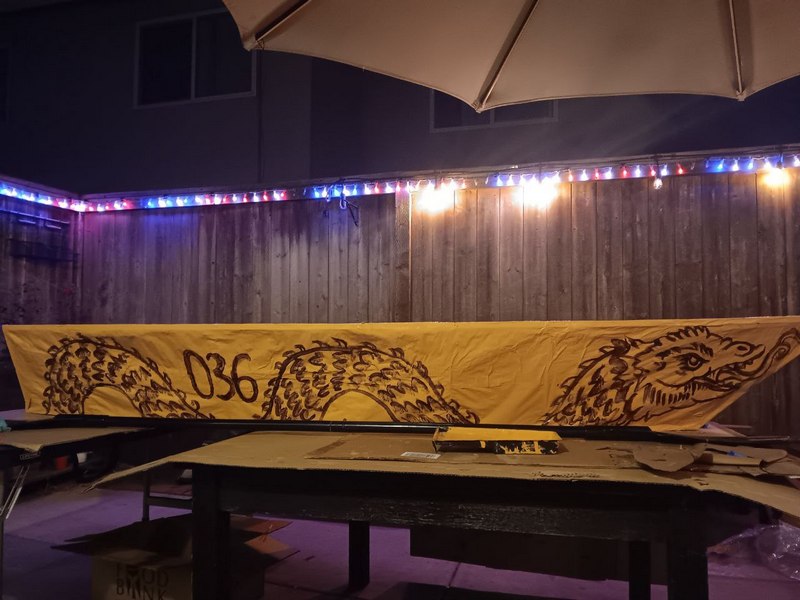
To make the design symmetrical on both sides, I sketched out the head on a piece of paper, and then cut and traced it – flipping it on one of the sides to create a mirror image. I then did the same thing for the tail coils, and traced them on both sides next to the number
I then went over my whole design with brown paint (to match the look of faded ink) and was very happy with how it turned out. After letting it dry I was very happy with the results
Results
I completed the challenge!! I was very optimistic about my design, but also recognized that I didn’t know what would happen to it once I submerged it in water. Thankfully it worked!! There was a hole in it by the time I finished the lap, but it was very unlikely that a structure that was made out of a limited supply of paper and wooden rods would remain durable with a weight distributed on it.
Overall, I was very proud of my work on this project! It took me less time than the catapult, and the process really helped me appreciate carpentry and similar crafts more. I also learned quite a bit about what works in boats and what doesn’t when observing my classmates. I’m guessing that it means that if I’m offered to construct a real life boat I’m now fully prepared 🙂