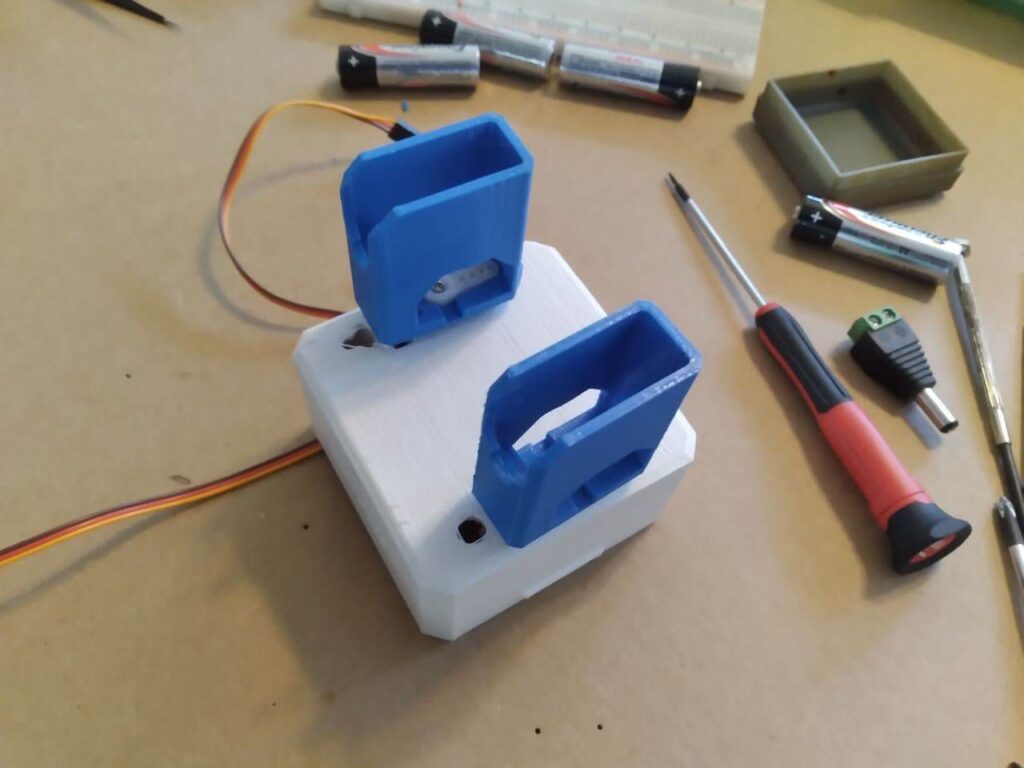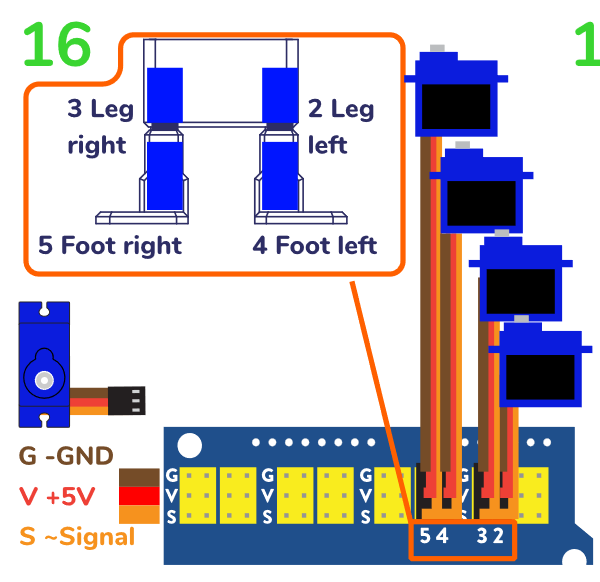

After testing the servos with the remote, I started to assemble Otto, using the manual on their website. During the process, I had to pay special attention to connect the servos to the correct ports. They had to be calibrated correctly before doing so. The 3D printer that I used wasn’t very precise, so there had to be some some sanding done, in order to adjust the frame to the pieces.
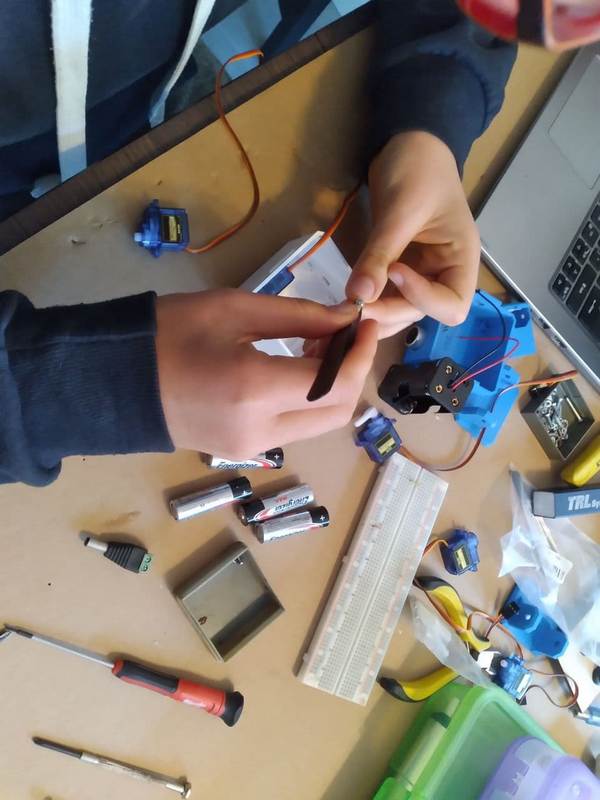
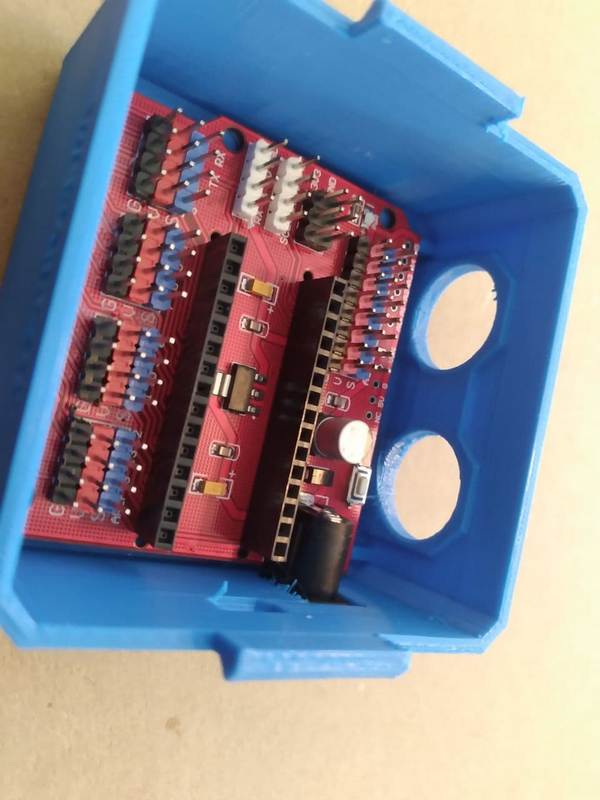
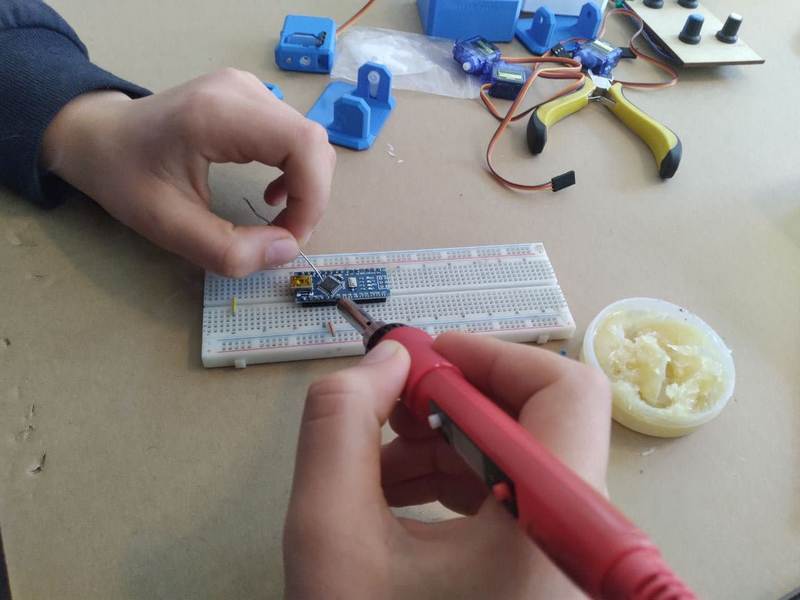
Then, I soldered the Arduino Nano board, so that it could be attached to its expansion shield. I had some difficulties trying to utilize the mini screws 🙂